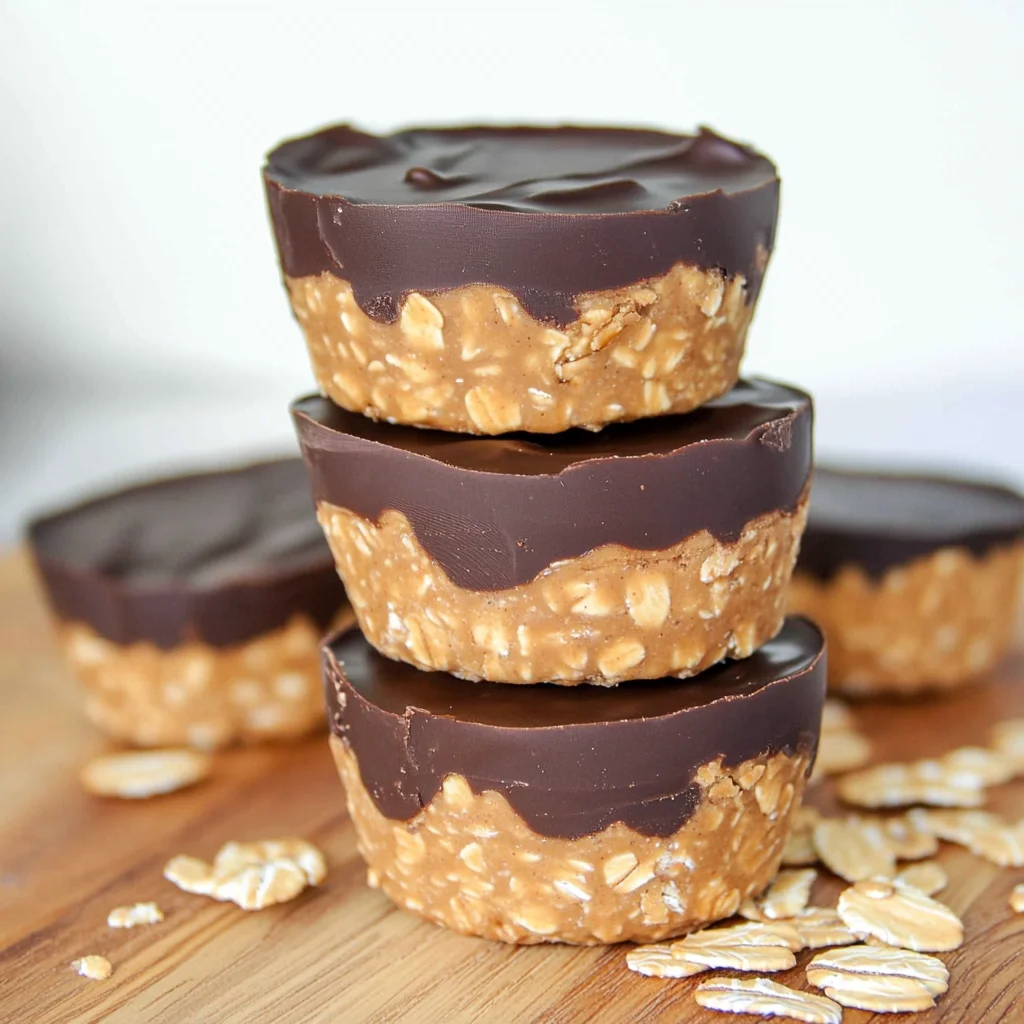
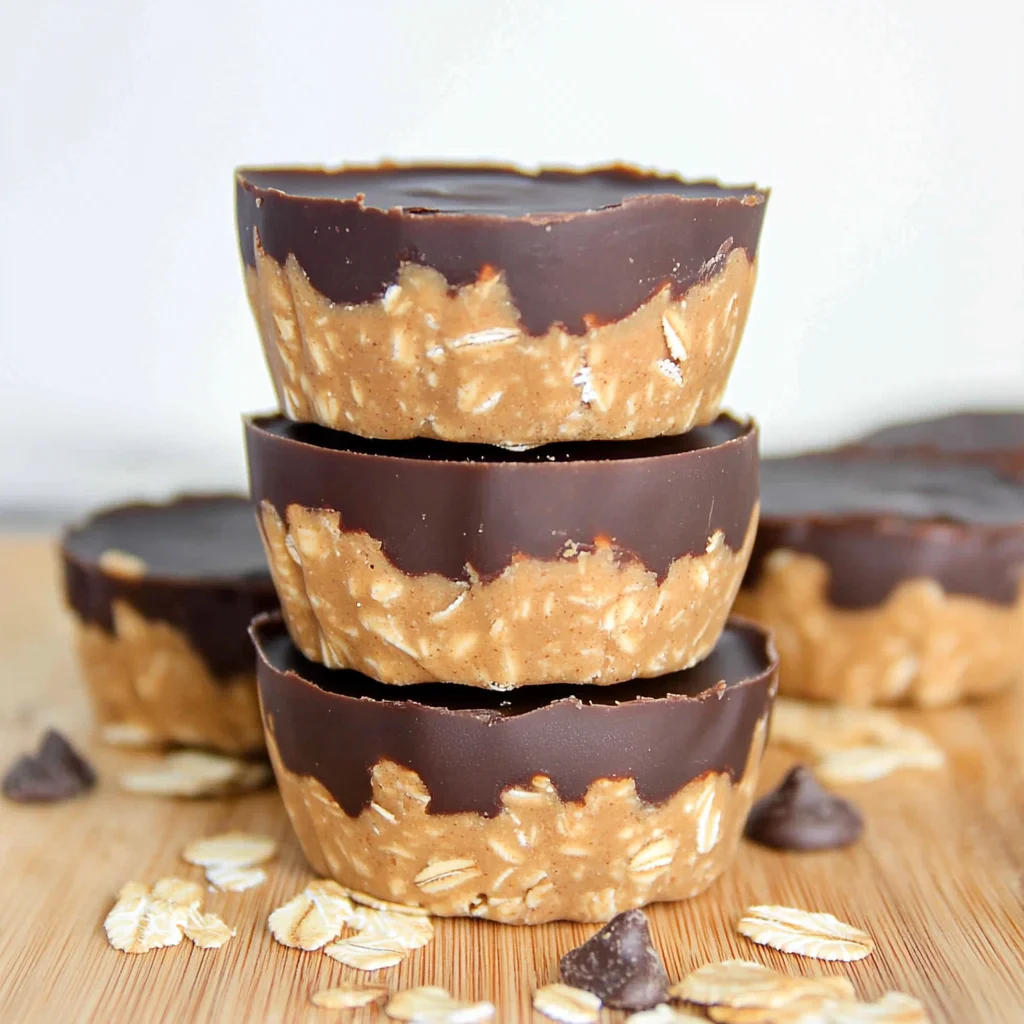
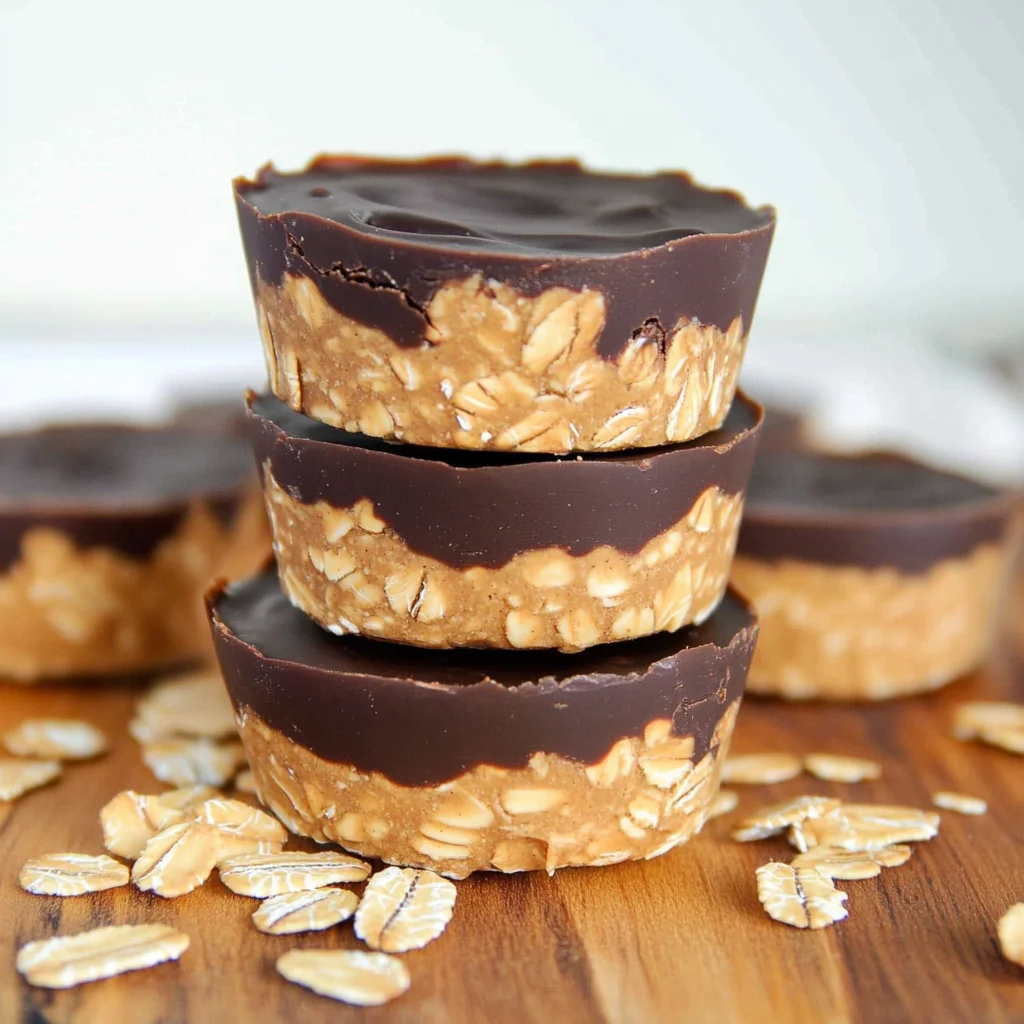
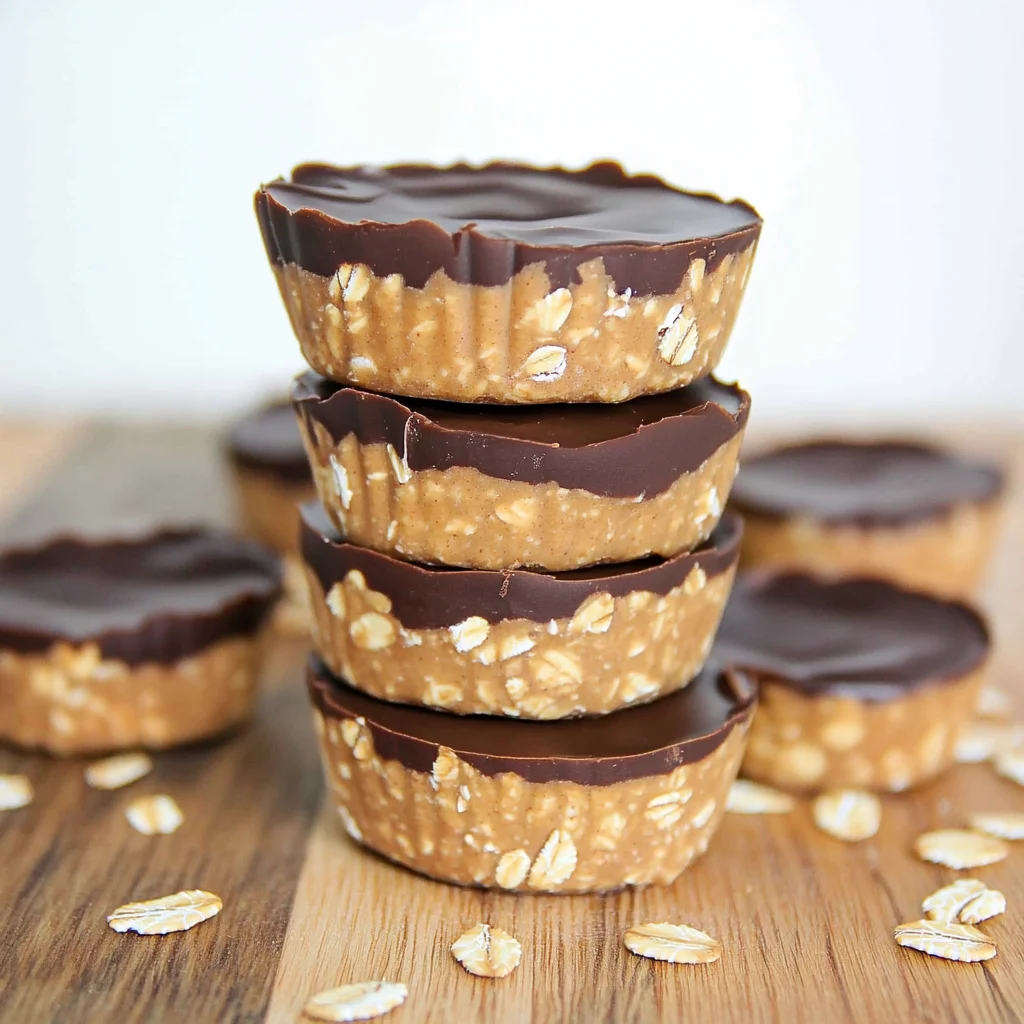
A creamy and delightful treat, No Bake Peanut Butter Oat Cups are the perfect solution for satisfying your sweet tooth without turning on the oven. These cups combine rich peanut butter and wholesome oat flour, topped with a layer of melted chocolate that melts in your mouth. Ideal for snacks, desserts, or even school lunches, these cups are sure to become a family favorite. Plus, they’re quick to make and require minimal ingredients—what’s not to love?
Why You’ll Love This Recipe
- Quick and Easy: With just a few simple steps, you can whip up these delicious cups in under 10 minutes.
- Nutritious Ingredients: Made with peanut butter and oat flour, they provide healthy fats and fiber that keep you satisfied.
- Versatile Treat: Perfect for any occasion—snacks for kids, dessert for gatherings, or an energy boost post-workout.
- No Baking Required: Enjoy the convenience of no bake preparation while still indulging in a tasty dessert.
- Kid-Friendly: Fun to make and eat, these cups are a hit with children and adults alike.
Tools and Preparation
Before diving into this scrumptious recipe, gather your tools to make the process smooth. Having everything on hand will ensure you create the perfect No Bake Peanut Butter Oat Cups.
Essential Tools and Equipment
- Microwave-safe bowl
- Mixing spoon or stand mixer
- Muffin pan or silicone muffin pan
- Measuring cups
- Rubber spatula
Importance of Each Tool
- Microwave-safe bowl: This is essential for melting your peanut butter and maple syrup quickly.
- Mixing spoon or stand mixer: These tools help combine ingredients thoroughly to achieve a smooth texture.
- Muffin pan or silicone muffin pan: Using liners or silicone helps in easily removing the cups once set without any mess.
Ingredients
A creamy peanut butter oat layer topped with melted chocolate to make a tasty peanut butter chocolate treat that your whole family will love.
Ingredients:
– 1.5 cups peanut butter
– 1.5 cups oat flour (Rolled oats processed finely in a food processor)
– 1/4 cup maple syrup
– 1 cup chocolate chips
– 1 tsp coconut oil (optional)
For Garnish
- 2 tablespoons fresh parsley, finely chopped
How to Make No Bake Peanut Butter Oat Cups
Step 1: Melt the Peanut Butter Mixture
In a medium-sized microwave-safe bowl, add your peanut butter and maple syrup. Microwave for 40-60 seconds. Stir thoroughly until both ingredients are completely combined.
Step 2: Combine with Oat Flour
Slowly add the oat flour to the bowl. Mix well until fully incorporated. The mixture should be thick yet moldable. If it appears too dry, add more maple syrup or peanut butter gradually until reaching the desired consistency.
Step 3: Prepare Muffin Pan
Line your muffin pan with cupcake liners or use a silicone muffin pan for easy removal later. This step is crucial as it prevents sticking.
Step 4: Fill Muffin Pan
Scoop the peanut butter oat mixture evenly into each muffin hole and press down firmly with your fingers to pack it tightly.
Step 5: Melt Chocolate Topping
In another small microwave-safe bowl, combine the chocolate chips and coconut oil. Heat in 30-second increments until completely melted and smooth. Stir between heating sessions.
Step 6: Add Chocolate Layer
Pour a generous layer of melted chocolate over each filled muffin hole. Use the back of a spoon to smooth out the tops. Optionally, sprinkle flaky salt or mini chocolate chips before allowing them to set.
Step 7: Refrigerate
Place your filled muffin pan in the refrigerator for 2-3 hours until fully set. Once set, carefully remove from the pan by lifting out the liners or using a silicone mold.
Store these delightful No Bake Peanut Butter Oat Cups in an airtight container in the refrigerator for up to 5 days for optimal freshness!
How to Serve No Bake Peanut Butter Oat Cups
No Bake Peanut Butter Oat Cups make a delightful treat that can be served in various ways. These cups are not only tasty but also versatile, allowing you to customize them to suit different occasions and preferences.
For a Sweet Snack
- With Fresh Fruit: Serve your oat cups alongside sliced bananas or strawberries for added freshness.
- Yogurt Dip: Pair with a small bowl of Greek yogurt for dipping, adding a creamy contrast.
As a Dessert
- Drizzled with Honey: A drizzle of honey enhances sweetness and adds a lovely glossy finish.
- Chocolate Sauce Drizzle: Top with extra chocolate sauce for an indulgent dessert experience.
For Celebrations
- Party Platter: Arrange them on a platter and garnish with fresh mint leaves for a festive look.
- Gift Wrapping: Wrap individual oat cups in cellophane tied with ribbon for party favors.
How to Perfect No Bake Peanut Butter Oat Cups
Making No Bake Peanut Butter Oat Cups can be simple, but there are ways to enhance the flavor and texture. Here are some tips to ensure your cups turn out perfectly every time.
- Use Creamy Peanut Butter: Creamy peanut butter will help achieve a smooth consistency, making it easier to mix and mold.
- Check Consistency: The mixture should be thick but moldable; adjust with more maple syrup if too dry.
- Refrigerate Well: Allow adequate time in the refrigerator for the cups to set completely; this helps maintain their shape.
- Experiment with Toppings: Get creative! Try adding nuts, seeds, or dried fruit on top of the melted chocolate for added texture and flavor.
- Silicone Molds Are Best: Use silicone muffin pans for easy removal, preventing any mess when taking them out.
- Store Properly: Keep your cups in an airtight container in the fridge to maintain freshness and taste.
Best Side Dishes for No Bake Peanut Butter Oat Cups
Serving No Bake Peanut Butter Oat Cups can be even more enjoyable with complementary side dishes. Here are some great ideas to serve alongside these delicious treats.
- Fruit Salad: A colorful mix of seasonal fruits adds freshness that pairs well with the rich flavors of the oat cups.
- Cheese Platter: A selection of cheeses can balance the sweetness and provide savory options that everyone will love.
- Veggie Sticks and Hummus: Crunchy veggies dipped in hummus create a healthy contrast to the decadent oat cups.
- Smoothie Bowl: A smoothie bowl topped with granola and fresh fruit makes an appealing breakfast option that goes well after having oat cups.
- Granola Bars: Homemade or store-bought granola bars offer an additional crunchy snack that’s easy to grab on-the-go.
- Trail Mix: A mix of nuts, seeds, and dried fruit rounds out your snack table while providing energy-boosting nutrients.
Common Mistakes to Avoid
When making No Bake Peanut Butter Oat Cups, it’s easy to run into a few common pitfalls. Here are some mistakes to watch out for:
Skipping the microwave step: Not melting the peanut butter and maple syrup first can lead to a lumpy mixture. Always microwave these ingredients together until smooth for the best texture.
Using regular oats instead of oat flour: If you don’t process rolled oats into fine flour, your cups may be gritty. Make sure to blend rolled oats finely in a food processor to achieve that creamy consistency.
Overfilling muffin liners: Filling the muffin pan too high can make it difficult to remove the cups later. Stick to filling each cup about three-quarters full for easy removal.
Not letting them set long enough: If you don’t refrigerate them for 2-3 hours, the cups may fall apart when you try to take them out. Patience is key; allow them time to firm up in the fridge.
Ignoring optional ingredients: Skipping coconut oil when melting chocolate can result in a thicker layer that’s hard to spread. Add it for a smoother chocolate finish.
Storage & Reheating Instructions
Refrigerator Storage
- Duration: These cups can be stored in the refrigerator for up to 5 days.
- Container type: Use an airtight container to keep them fresh and prevent odors from affecting their taste.
Freezing No Bake Peanut Butter Oat Cups
- Freezing duration: You can freeze these cups for up to 3 months.
- Container type: Use a freezer-safe container or zip-top bag, making sure to label with the date.
Reheating No Bake Peanut Butter Oat Cups
- Oven: Preheat your oven to 350°F (175°C) and warm them for about 5-10 minutes.
- Microwave: Heat in short bursts of 15-20 seconds until just warmed through.
- Stovetop: Place them in a skillet over low heat for a few minutes, watching closely so they don’t melt too much.
Frequently Asked Questions
Can I use other nut butters for No Bake Peanut Butter Oat Cups?
Yes! You can substitute peanut butter with alternatives like almond butter or cashew butter. Just ensure they have similar consistency.
How do I make No Bake Peanut Butter Oat Cups gluten-free?
To make this recipe gluten-free, use certified gluten-free oat flour instead of regular oat flour. This way, you avoid any cross-contamination issues.
What toppings work well on No Bake Peanut Butter Oat Cups?
You can top these cups with chopped nuts, shredded coconut, or even drizzled caramel sauce for an extra treat!
Can I add protein powder to my No Bake Peanut Butter Oat Cups?
Absolutely! Adding protein powder can enhance nutrition. Just start with one scoop and adjust the wet ingredients slightly if needed.
Final Thoughts
No Bake Peanut Butter Oat Cups are not only delicious but also versatile treats that everyone in your family will love. With easy customization options, such as different nut butters or toppings, you can create a unique version every time. Give this recipe a try and enjoy a delightful snack that’s both healthy and satisfying!
No Bake Peanut Butter Oat Cups
- Author: Adeline
- Total Time: 13 minute
- Yield: Makes approximately 12 cups 1x
Description
Indulge in the creamy goodness of No Bake Peanut Butter Oat Cups—a delightful treat that requires no baking, making it perfect for busy days. These cups are a harmonious blend of rich peanut butter and wholesome oat flour, topped with a silky layer of melted chocolate that tantalizes your taste buds. Ideal for snacks, desserts, or lunchboxes, they come together quickly with minimal ingredients. Whether you’re looking for a sweet pick-me-up or a nutritious energy boost, these versatile cups have got you covered. Kids will love them, and adults will appreciate their healthy profile.
Ingredients
- 1.5 cups peanut butter
- 1.5 cups oat flour
- 1/4 cup maple syrup
- 1 cup chocolate chips
- 1 tsp coconut oil (optional)
Instructions
- In a microwave-safe bowl, combine peanut butter and maple syrup. Microwave for 40-60 seconds and stir until smooth.
- Gradually mix in oat flour until fully incorporated; adjust the consistency if needed.
- Line a muffin pan with liners or use silicone molds.
- Fill each muffin hole with the mixture and press down firmly.
- Melt chocolate chips and coconut oil in another bowl, stirring until smooth.
- Pour melted chocolate over the filled cups and smooth the tops.
- Chill in the refrigerator for 2-3 hours until set.
- Prep Time: 10 minutes
- Cook Time: None
- Category: Dessert
- Method: No Bake
- Cuisine: American
Nutrition
- Serving Size: 1 serving
- Calories: 180
- Sugar: 7g
- Sodium: 100mg
- Fat: 10g
- Saturated Fat: 2g
- Unsaturated Fat: 8g
- Trans Fat: 0g
- Carbohydrates: 15g
- Fiber: 2g
- Protein: 6g
- Cholesterol: 0mg
Keywords: For added flavor, experiment with toppings like nuts or seeds. Ensure proper mixing for a smoother texture by using creamy peanut butter. Store in an airtight container in the fridge for up to five days.

