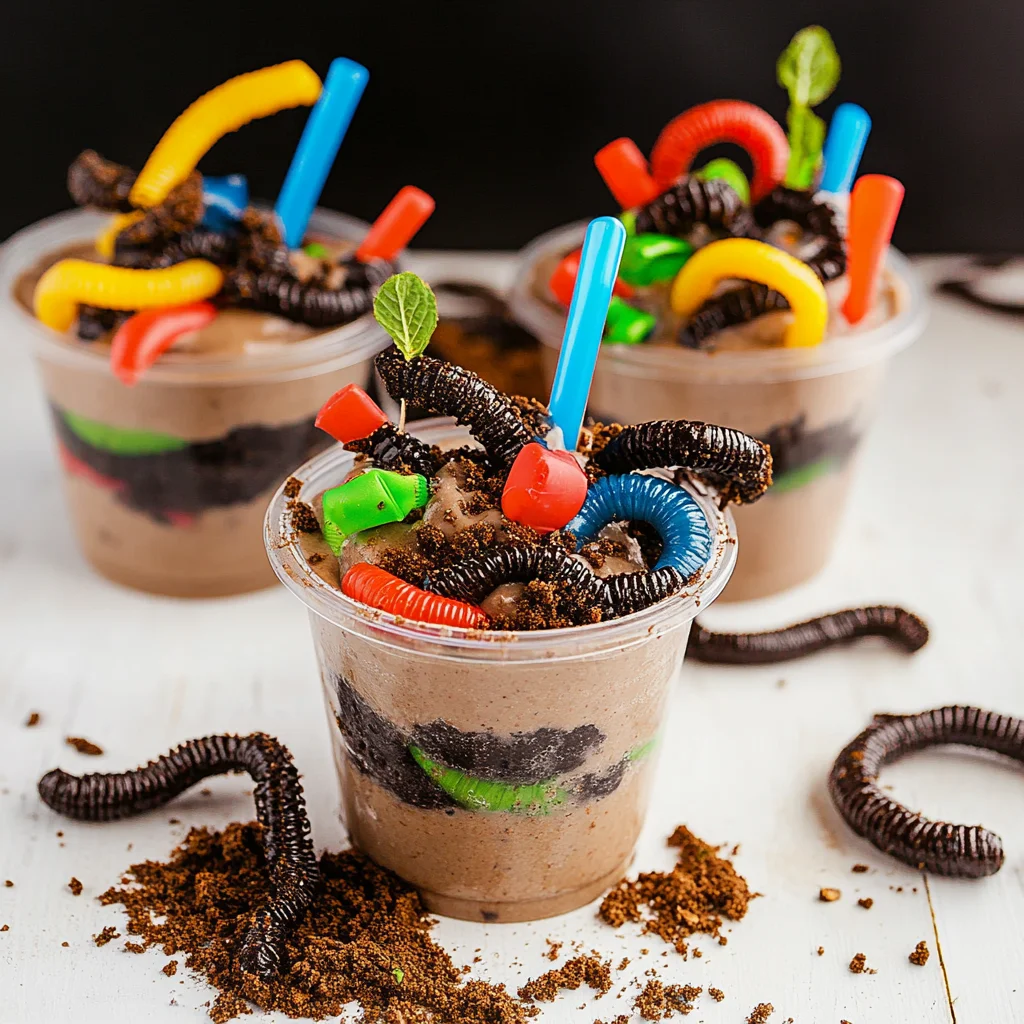
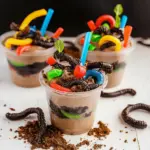
Dirt and Worms Pudding Cups are a delightful treat that brings fun to any occasion! These playful dessert cups combine rich chocolate pudding with crunchy Oreo crumbs and colorful gummy worms, creating an irresistible combination. They are ideal for birthday parties, movie nights, or as a special snack. The best part? Kids love them, making them a fantastic choice for family gatherings!
Why You’ll Love This Recipe
- Easy to Make: With just a few simple steps, you can whip up these delicious pudding cups in no time.
- Fun Presentation: The layered look of pudding, Oreos, and gummy worms makes for an eye-catching treat.
- Kid-Friendly: Perfect for kids of all ages, these pudding cups are sure to be a hit at any gathering.
- Customizable: You can easily adjust the recipe to include different toppings or flavors according to your preferences.
- No Baking Required: Enjoy a tasty dessert without the hassle of baking—just mix and chill!
Tools and Preparation
Before you start making your Dirt and Worms Pudding Cups, gather the necessary tools to ensure a smooth process.
Essential Tools and Equipment
- Mixing bowl
- Whisk
- Serving cups
- Refrigerator
Importance of Each Tool
- Mixing bowl: A large bowl is essential for combining pudding ingredients effectively without spilling.
- Whisk: A whisk helps achieve a smooth texture by thoroughly mixing the pudding and milk.
Ingredients
Gather these simple ingredients to create your Dirt and Worms Pudding Cups:
For the Pudding Base
- 1 (3.4 ounce) chocolate pudding mix
- 2 cups cold milk
- 1 (8 ounce) tub Cool Whip
For the Crunchy Layer
- 20 Oreo cookies, finely crushed
For the Fun Topping
- 24 – 32 gummy worms
For Serving
- 8 plastic cups

How to Make Dirt and Worms Pudding Cups
Step 1: Prepare the Pudding Mixture
- In a large mixing bowl, whisk together the chocolate pudding mix and cold milk. Continue until well combined with no lumps remaining.
- Chill the mixture in the refrigerator for about 5 minutes to allow it to thicken.
Step 2: Fold in Cool Whip
- Once thickened, take out the pudding mixture from the refrigerator.
- Gently fold in the Cool Whip, ensuring it’s just combined for a light texture.
Step 3: Assemble the Cups
- Divide the pudding evenly among your eight serving cups.
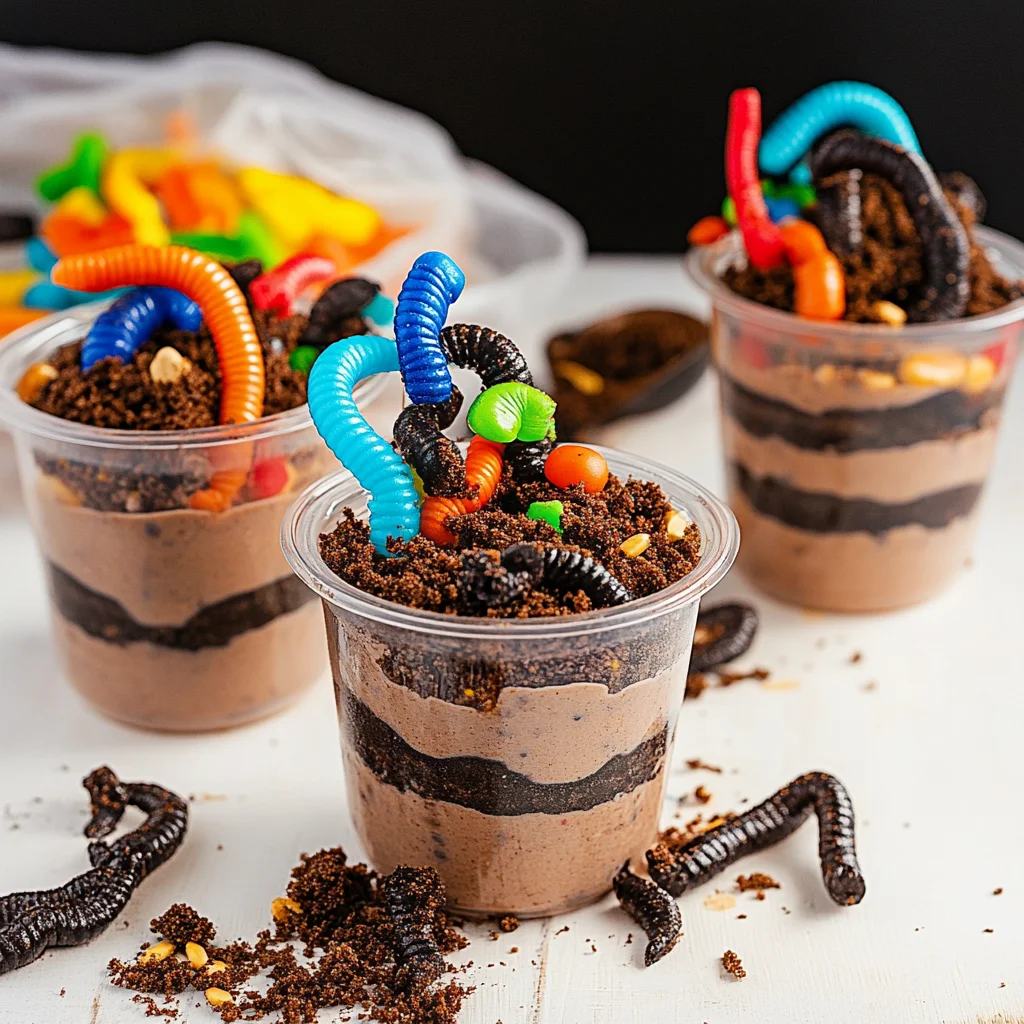
- Top each cup with crushed Oreos, or create layers with both pudding and Oreos for extra visual appeal.
Step 4: Chill and Garnish
- Place assembled cups back into the refrigerator until you’re ready to serve.
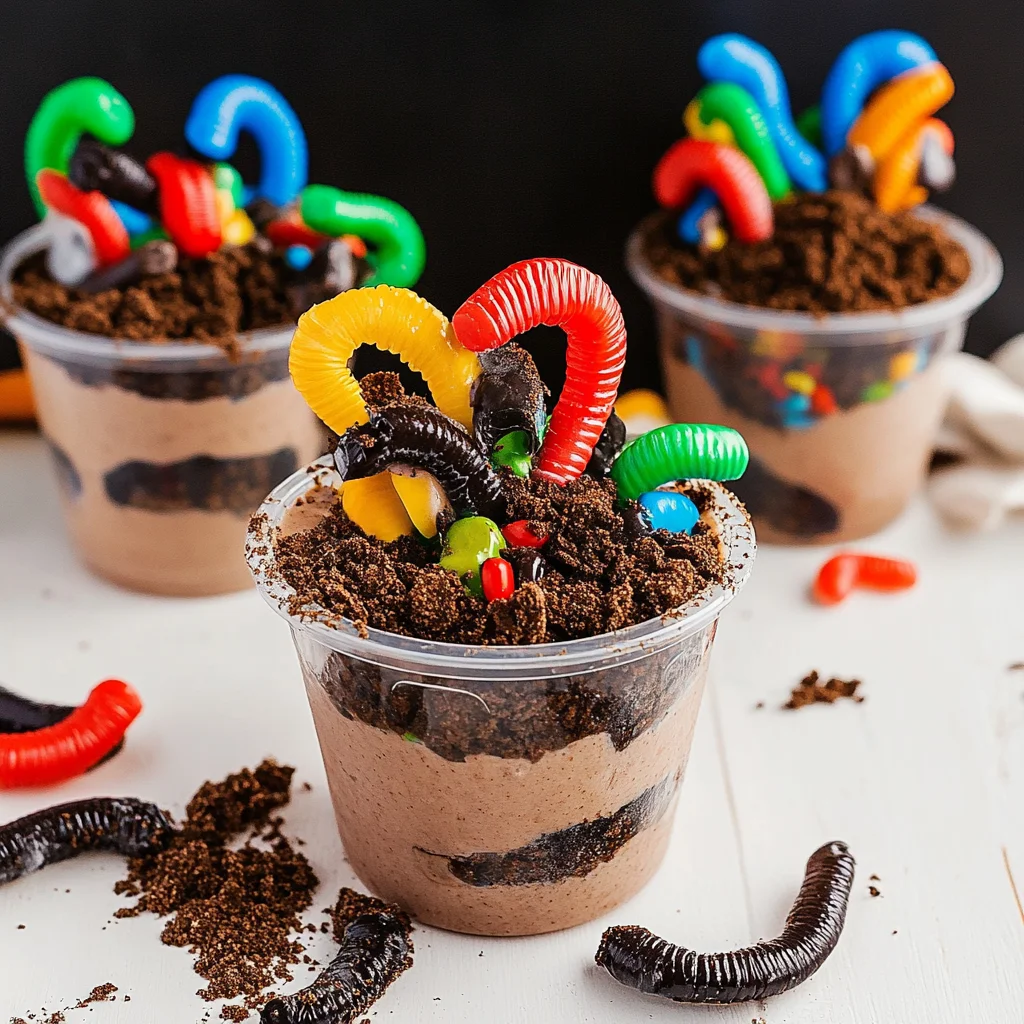
- Just before serving, garnish each cup with 3-4 gummy worms. Enjoy your fun dessert!
How to Serve Dirt and Worms Pudding Cups
Dirt and Worms Pudding Cups are not only tasty but also visually appealing. Here are some fun serving suggestions that will make these treats even more exciting for your guests.
Individual Dessert Cups
- Use clear plastic cups to showcase the layers of pudding and crushed Oreos. This makes the dessert look enticing and adds to the fun.
Themed Party Favors
- Decorate each cup with a small tag or label to match your party theme. This adds a personal touch and makes them great as party favors.
Outdoor Picnic Treats
- Pack these pudding cups in a cooler for an outdoor picnic. They are easy to transport and perfect for kids to enjoy while having fun outside.
Birthday Party Highlights
- Serve Dirt and Worms Pudding Cups as a highlight at birthday parties. Kids love the spooky theme, making them a hit with all ages.
How to Perfect Dirt and Worms Pudding Cups
To make your Dirt and Worms Pudding Cups even better, consider these helpful tips.
- Use Cold Ingredients: Start with cold milk and chilled Cool Whip for a creamier texture.
- Layer Creatively: Alternate layers of pudding, Oreos, and gummy worms for a beautiful presentation.
- Chill Longer: For an even thicker consistency, chill the dessert cups for an extra 15 minutes before serving.
- Add Toppings: Customize your cups by adding sprinkles or other candies on top along with the gummy worms.
- Mix Flavors: Experiment with different flavors of pudding, like vanilla or butterscotch, for variety.
Best Side Dishes for Dirt and Worms Pudding Cups
Serving side dishes alongside Dirt and Worms Pudding Cups can enhance your dessert experience. Here are some great options to consider.
- Fruit Skewers: Brightly colored fruit on skewers adds freshness and balance to the sweetness of the pudding cups.
- Veggie Platter: A crunchy veggie platter with dip provides a healthy contrast to the rich dessert.
- Popcorn Bar: Offer different popcorn flavors like caramel or cheese for a fun snack option that complements the pudding.
- Mini Sandwiches: Easy-to-eat mini sandwiches can be a great savory addition to keep guests satisfied.
- Cheese Cubes: A selection of cheese cubes paired with crackers offers a savory bite that pairs well with sweets.
- Chocolate-Dipped Pretzels: These add a salty-sweet twist, perfect for those who want something crunchy next to their pudding cups.
Common Mistakes to Avoid
When making Dirt and Worms Pudding Cups, it’s easy to make mistakes that can affect the final result. Here are some common pitfalls to watch out for.
- Skipping the chilling step: Failing to chill the pudding mixture can lead to a runny consistency. Always allow it to thicken in the refrigerator for at least 5 minutes.
- Overmixing the Cool Whip: Mixing too vigorously can deflate the Cool Whip, resulting in a less creamy texture. Gently fold it into the pudding until just combined.
- Using stale Oreos: Using old or stale cookies can ruin the crunchiness factor in your dessert. Make sure your Oreos are fresh for optimal flavor and texture.
- Not layering ingredients: Simply dumping all ingredients together may not provide the fun look you’re aiming for. Layering pudding and crushed Oreos creates an appealing visual effect.
- Neglecting portion sizes: Filling cups too much can lead to messy servings. Aim for even portions so each cup is delightful and easy to enjoy.
Storage & Reheating Instructions
Refrigerator Storage
- Store leftovers in airtight containers.
- They can be kept in the fridge for up to 3 days.
- Ensure they are well covered to avoid drying out.
Freezing Dirt and Worms Pudding Cups
- Freezing is not recommended due to texture changes in pudding and whipped cream.
- If necessary, store in freezer-safe containers for up to 2 weeks.
- Thaw in the refrigerator before serving; expect some texture loss.
Reheating Dirt and Worms Pudding Cups
- Oven: Not advisable as it will alter the dessert’s texture.
- Microwave: Use only if absolutely necessary; heat on low power for short intervals.
- Stovetop: This method is also not recommended; it may cause separation of ingredients.
Frequently Asked Questions
Dirt and Worms Pudding Cups are a fun treat, but you might have some questions about them. Here are some answers!
How do I make Dirt and Worms Pudding Cups gluten-free?
To make these pudding cups gluten-free, use gluten-free Oreo cookies instead of regular ones. The rest of the recipe remains unchanged.
Can I customize my Dirt and Worms Pudding Cups?
Absolutely! You can add other toppings like crushed nuts or different gummy candies. Feel free to experiment with flavors by using vanilla pudding instead of chocolate.
How long do Dirt and Worms Pudding Cups last?
These delicious cups can last up to 3 days in the refrigerator when stored properly in airtight containers.
Are Dirt and Worms Pudding Cups suitable for parties?
Yes! They are perfect for parties, especially children’s birthdays. Their fun appearance makes them a hit among kids!
Final Thoughts
Dirt and Worms Pudding Cups are not only playful but also incredibly versatile. With options for customization, you can easily tailor them to suit your preferences or party themes. Don’t hesitate to try this delightful recipe; it’s a guaranteed crowd-pleaser!
Dirt and Worms Pudding Cups
- Total Time: 42 minute
- Yield: Serves 8
Description
Indulge in the whimsical delight of Dirt and Worms Pudding Cups, the perfect dessert for any occasion! This fun and easy-to-make treat combines rich chocolate pudding with crunchy Oreo crumbs and colorful gummy worms, creating an irresistible combination that kids adore. Ideal for birthday parties, movie nights, or just a special family snack, these pudding cups are sure to impress. With no baking required, you can whip them up quickly and customize them to suit your taste. Get ready to bring a playful twist to dessert time!
Ingredients
- 1 (3.4 ounce) chocolate pudding mix
- 2 cups cold milk
- 1 (8 ounce) tub Cool Whip
- 20 Oreo cookies, finely crushed
- 24 – 32 gummy worms
- 8 plastic cups
Instructions
- In a mixing bowl, whisk together the chocolate pudding mix and cold milk until smooth. Chill for about 5 minutes until thickened.
- Gently fold in the Cool Whip until just combined.
- Divide the pudding mixture evenly among eight serving cups.
- Layer each cup with crushed Oreos for added texture.
- Refrigerate until ready to serve, then garnish with gummy worms before enjoying.
- Prep Time: 15 minutes
- Cook Time: None
- Category: Dessert
- Method: No baking required
- Cuisine: American
Nutrition
- Serving Size: 1 cup (approximately 150g)
- Calories: 270
- Sugar: 22g
- Sodium: 150mg
- Fat: 12g
- Saturated Fat: 6g
- Unsaturated Fat: 5g
- Trans Fat: 0g
- Carbohydrates: 38g
- Fiber: 1g
- Protein: 3g
- Cholesterol: 15mg
Keywords: Use cold ingredients for a creamier texture. Experiment with different flavors of pudding or toppings like sprinkles for variety. Chill longer for a thicker consistency if desired.