
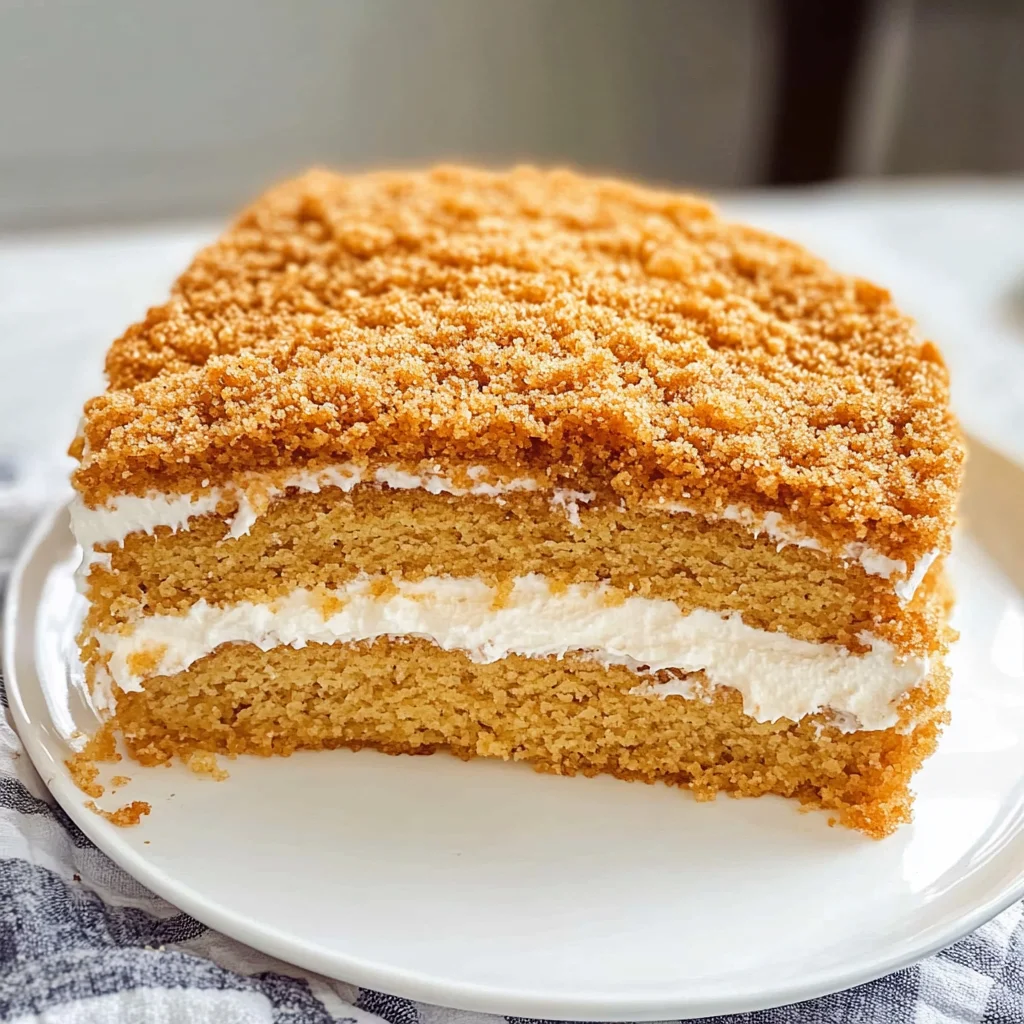
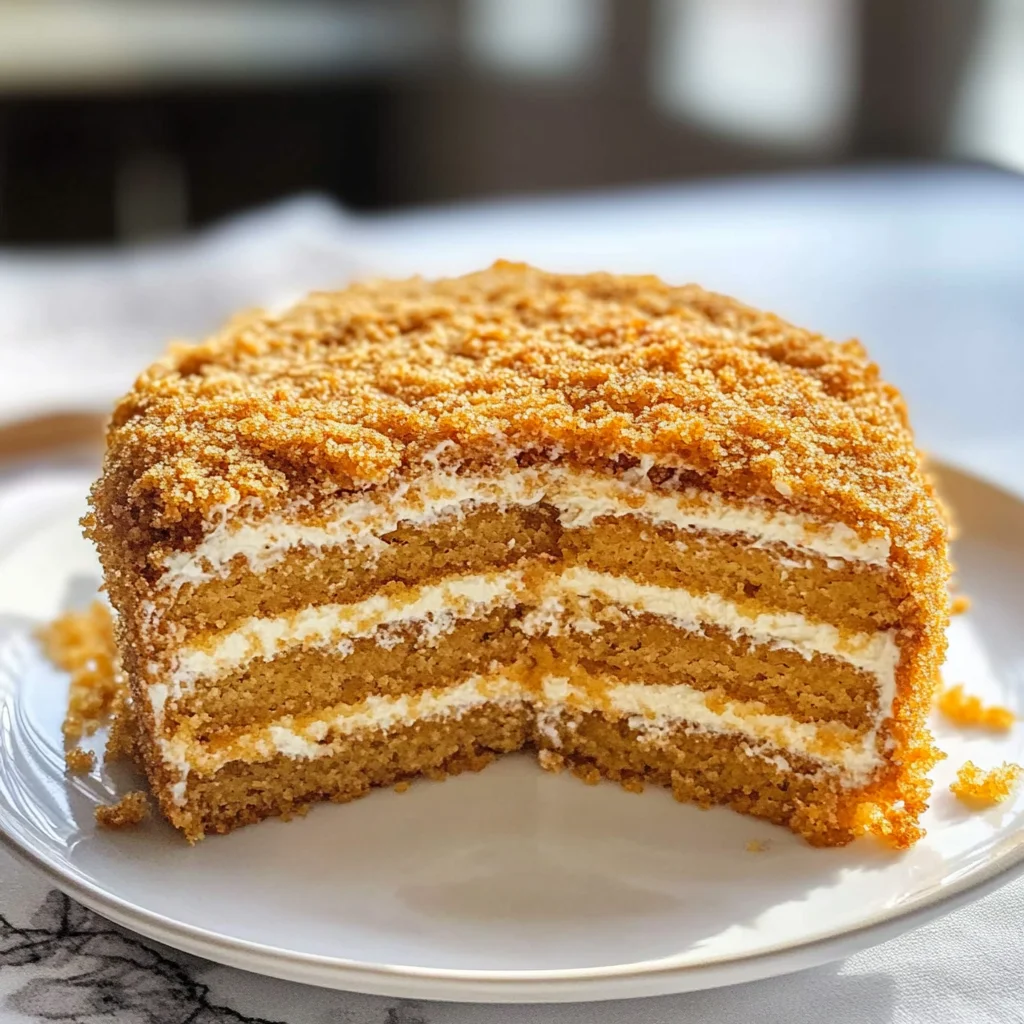
Russian Honey Cake Recipe (Medovik) is a delightful dessert that features layers of rich honey-infused cake and luscious sour cream frosting. This cake is perfect for any occasion, from birthdays to family gatherings. The unique combination of flavors and textures makes it a standout dessert that will impress your guests.
Why You’ll Love This Recipe
- Delicious Flavor: The natural sweetness of clover honey pairs perfectly with the creamy frosting, creating an irresistible taste.
- Simple Preparation: This recipe comes together easily, making it accessible for both novice and experienced bakers.
- Versatile Presentation: You can bake this cake in various shapes, whether round or rectangular, making it suitable for any celebration.
- Impressive Layers: The multi-layered design not only looks stunning but also allows for a delightful balance of cake and frosting in every bite.
- Crowd-Pleaser: With its light texture and sweet flavor, this Russian Honey Cake is sure to please everyone at your gathering.
Tools and Preparation
To make your baking experience smooth and enjoyable, having the right tools on hand is essential.
Essential Tools and Equipment
- Mixing bowls
- Whisk
- Baking sheets
- Parchment paper
- Cooling rack
- Spatula
Importance of Each Tool
- Mixing bowls: Essential for combining ingredients thoroughly, ensuring even flavor throughout the cake.
- Baking sheets: Used for baking the cake layers evenly, providing a flat surface that helps achieve perfect layers.
- Cooling rack: Allows the cake layers to cool properly, preventing sogginess before frosting.

Ingredients
For the Cake Layers
- 3 eggs
- 1 cup clover honey
- 2 cups all-purpose flour
- 2 tsp baking soda
- 1 tbsp white distilled vinegar
For the Frosting
- 8 oz Cool Whip (thawed)
- 1 cup sour cream (Daisy brand)
How to Make Russian Honey Cake Recipe (Medovik)
Step 1: Prepare Your Oven and Baking Sheets
Preheat your oven to 350°F (175°C) and line your baking sheets with parchment paper. This will help prevent the cake from sticking and ensure easy removal after baking.
Step 2: Mix the Wet Ingredients
In a mixing bowl, whisk together the eggs and clover honey until well combined. This mixture will provide moisture and sweetness to your cake layers.
Step 3: Combine Dry Ingredients
In another bowl, mix together the all-purpose flour, baking soda, and vinegar. Gradually add this dry mixture to the wet ingredients while stirring gently.
Step 4: Bake the Cake Layers
Pour equal amounts of batter into prepared baking sheets. Bake in preheated oven for about 10-15 minutes or until golden brown. Repeat until all layers are baked.
Step 5: Cool Layers Properly
Remove from oven and let each layer cool on a cooling rack. Ensure they are completely cool before frosting.
Step 6: Prepare the Frosting
In a clean bowl, combine thawed Cool Whip with sour cream until smooth. This creamy mixture will be used to frost your cake.
Step 7: Assemble Your Cake
Place one layer on a serving plate. Spread a generous layer of frosting on top before adding another layer. Repeat this process until all layers are stacked. Use any remaining frosting to cover the top and sides of the cake.
Step 8: Decorate
For decoration, crumble leftover cake pieces over the top of your frosted Medovik to create an appealing finish.
Now you have a beautiful Russian Honey Cake ready to serve! Enjoy each slice of this delightful dessert at your next gathering.
How to Serve Russian Honey Cake Recipe (Medovik)
Serving your Russian Honey Cake can elevate the experience and make it more delightful. Here are some creative ways to present this delicious cake that will impress your guests.
Individual Slices
- Serve each slice on a decorative plate for an elegant touch.
- Add a dollop of sour cream on the side to enhance the flavors.
With Fresh Fruits
- Pair with seasonal fruits like strawberries and blueberries for freshness.
- The acidity from the fruit complements the sweetness of the honey cake beautifully.
Accompanied by Tea or Coffee
- Offer slices with a hot cup of tea or coffee for a comforting treat.
- The warm beverage balances the sweetness of the cake perfectly.
Layered in a Trifle
- Create a layered dessert by breaking the cake into chunks and alternating with whipped cream and fruit.
- This presentation is visually appealing and adds variety in texture.
How to Perfect Russian Honey Cake Recipe (Medovik)
Perfecting your Russian Honey Cake can make all the difference in taste and texture. Here are some simple tips to ensure your Medovik turns out amazing.
- Use high-quality honey – Opt for pure clover honey for optimal flavor and sweetness.
- Let layers cool completely – Cooling ensures that frosting won’t melt when you assemble the cake.
- Chill before serving – Allowing the cake to chill overnight enhances flavors and makes slicing easier.
- Don’t skip vinegar – The vinegar reacts with baking soda, giving the cake its light texture.
- Experiment with flavors – Consider adding vanilla or almond extract for an extra layer of flavor.
Best Side Dishes for Russian Honey Cake Recipe (Medovik)
Pairing your Russian Honey Cake with side dishes can create a well-rounded meal. Here are some delicious options to consider.
- Fresh Berries – A mix of strawberries, blueberries, and raspberries add a pop of color and tartness.
- Fruit Salad – A vibrant fruit salad can complement the sweetness of the cake while refreshing your palate.
- Whipped Cream – Lightly sweetened whipped cream enhances texture and adds creaminess to each bite.
- Yogurt Parfait – Layer yogurt with granola and fruits for a healthy side that contrasts with the rich cake.
- Spiced Nuts – Roasted spiced nuts provide a crunchy texture that pairs nicely with soft cake layers.
- Ice Cream – A scoop of vanilla or honey-flavored ice cream brings extra decadence to your dessert table.
- Herbal Tea – Serve herbal tea like chamomile or mint for a calming beverage that complements dessert flavors.
- Cheese Platter – Include mild cheeses that balance sweetness, creating an interesting contrast on your table.
Common Mistakes to Avoid
Creating the perfect Russian Honey Cake can be tricky. Here are some common mistakes to watch out for:
Ignoring room temperature ingredients: Using cold eggs or sour cream can affect how well your cake rises. Always ensure your ingredients are at room temperature before starting.
Overmixing the batter: This can lead to a dense cake. Mix just until combined to keep the texture light and fluffy.
Not measuring flour accurately: Too much flour can make your cake dry. Use a kitchen scale or spoon and level the flour for accuracy.
Skipping the cooling step: Allow your cake layers to cool completely before frosting. This prevents the frosting from melting and helps maintain the structure.
Using low-quality honey: The flavor of your honey will significantly impact the taste of the cake. Choose high-quality clover honey for the best results.
Storage & Reheating Instructions
Refrigerator Storage
- Store leftover Russian Honey Cake in an airtight container.
- It can be refrigerated for up to 5 days without losing flavor or texture.
Freezing Russian Honey Cake Recipe (Medovik)
- Wrap individual slices in plastic wrap before placing them in a freezer-safe bag.
- The cake can be frozen for up to 3 months. Thaw overnight in the refrigerator before serving.
Reheating Russian Honey Cake Recipe (Medovik)
Oven: Preheat your oven to 350°F (175°C). Place the slices on a baking sheet and heat for about 10 minutes.
Microwave: Use a microwave-safe plate and heat each slice for 15-20 seconds until warm.
Stovetop: Place a slice in a skillet over low heat, cover, and warm it gently for about 5 minutes, checking frequently.
Frequently Asked Questions
Here are some common questions about making Russian Honey Cake:
How long does it take to make Russian Honey Cake Recipe (Medovik)?
The total time for this recipe is approximately 75 minutes, including both prep and cooking time.
Can I use different types of honey for this recipe?
Yes, you can experiment with different types of honey, but clover honey is recommended for its mild flavor that complements the cake well.
Is it possible to make this cake gluten-free?
Absolutely! Substitute all-purpose flour with a gluten-free flour blend that measures cup-for-cup like regular flour.
What is the best way to frost my Russian Honey Cake?
For best results, use sour cream mixed with whipped cream as frosting. This combination balances sweetness and adds moisture.
How should I serve Russian Honey Cake?
This cake is delightful when served chilled or at room temperature. Pair it with tea or coffee for an enjoyable treat!
Final Thoughts
Russian Honey Cake (Medovik) is not only delicious but also versatile. You can customize it by adding fruits or nuts between layers or experimenting with different frostings. This dessert will surely impress your guests, so give it a try!

Russian Honey Cake Recipe (Medovik)
- Total Time: 1 hour 15 minutes
- Yield: Serves approximately 12 slices 1x
Description
Indulge in the delightful layers of our Russian Honey Cake Recipe (Medovik), a sweet treat that combines rich honey-infused cake with creamy frosting. This elegant dessert is perfect for any gathering, whether it’s a birthday celebration or a family dinner. The balance of flavors and textures makes each bite an experience to savor. With simple preparation steps, even novice bakers will find joy in creating this crowd-pleaser that’s sure to impress your guests.
Ingredients
- 3 eggs
- 1 cup clover honey
- 2 cups all-purpose flour
- 2 tsp baking soda
- 1 tbsp white distilled vinegar
- 8 oz Cool Whip (thawed)
- 1 cup sour cream
Instructions
- Preheat your oven to 350°F (175°C) and line baking sheets with parchment paper.
- In a mixing bowl, whisk together the eggs and honey until combined.
- In another bowl, mix flour, baking soda, and vinegar. Gradually add to the wet mixture while stirring gently.
- Pour equal amounts of batter onto prepared sheets and bake for 10-15 minutes until golden brown. Repeat for remaining layers.
- Allow cake layers to cool completely on a cooling rack.
- For the frosting, combine thawed Cool Whip with sour cream until smooth.
- Assemble the cake by layering with frosting between each layer and on top.
- Decorate as desired before serving.
- Prep Time: 30 minutes
- Cook Time: 45 minutes
- Category: Dessert
- Method: Baking
- Cuisine: Russian
Nutrition
- Serving Size: 1 serving
- Calories: 250
- Sugar: 20g
- Sodium: 120mg
- Fat: 10g
- Saturated Fat: 4g
- Unsaturated Fat: 6g
- Trans Fat: 0g
- Carbohydrates: 38g
- Fiber: 1g
- Protein: 4g
- Cholesterol: 50mg
Keywords: Use high-quality clover honey for the best flavor. Chill the assembled cake overnight for enhanced taste and easier slicing. Experiment by adding vanilla or almond extract to the batter for additional flavor.